Getting Started
Getting Started with ProtoFlow
Get up and running with ProtoFlow in minutes. This guide covers installation, creating your first project, and a tour of the interface.
# Installation
ProtoFlow is available for Windows, macOS (Apple Silicon & Intel), and Linux. Download the latest version from the download page or use the direct links below.
System Requirements
| Requirement | Minimum | Recommended |
|---|---|---|
| OS | Windows 10, macOS 12, Ubuntu 20.04 | Windows 11, macOS 14+, Ubuntu 22.04+ |
| RAM | 4 GB | 8 GB+ |
| Storage | 500 MB | 1 GB+ |
| Display | 1280 × 720 | 1920 × 1080+ |
Download & Install
Windows
Windows 10 or later
ProtoFlow-latest.exemacOS
Apple Silicon & Intel
ProtoFlow-latest.dmgLinux
x64/amd64 or ARM64/aarch64
ProtoFlow-latest.AppImage / .tar.gzmacOS Users
If you see a "damaged or unidentified developer" warning, right-click the app and select Open, then confirm. This is standard for apps distributed outside the Mac App Store.
ProtoFlow installer running on macOS
# Creating a Project
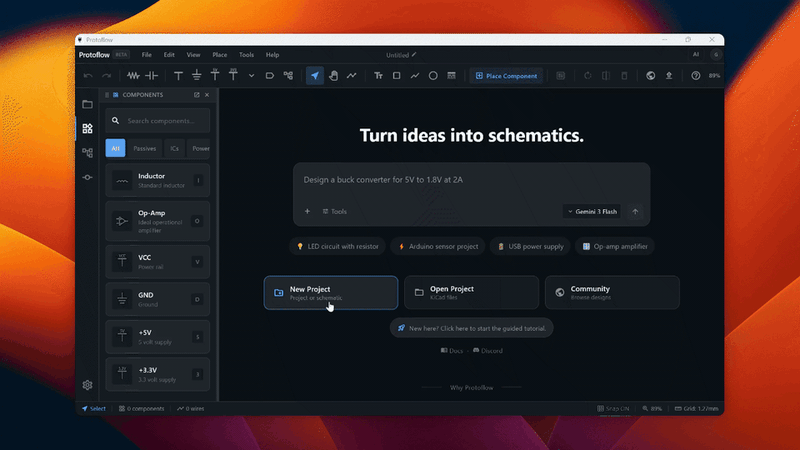
When you launch ProtoFlow for the first time, you'll see the welcome screen. Here's how to create your first schematic project.
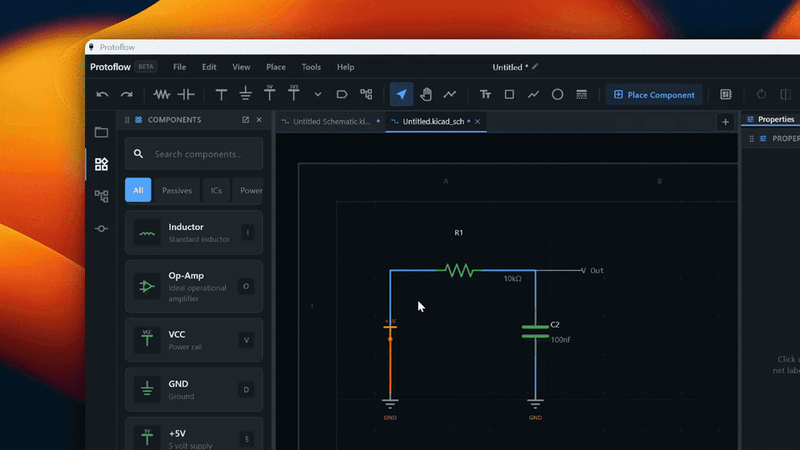
Step 1: Create a New Schematic
Click the New Schematic button or use the keyboard shortcut. A blank canvas will open with the default grid and document frame visible.
Step 2: Place Your First Component
Press R to activate the resistor tool, then click on the canvas to place it. You can also drag components from the Component Library panel on the left.
Step 3: Draw Wires
Press W to activate the wire tool. Click on a component pin to start a wire, then click again to place waypoints. Double-click or click on another pin to finish the wire.
Step 4: Save Your Work
ProtoFlow auto-saves your work periodically. You can also manually save using Ctrl+S / Cmd+S. Projects are saved in ProtoFlow's native format and can be exported to KiCad at any time.
# Interface Tour
The ProtoFlow interface is built around a flexible docking system. Here's an overview of the main areas.
Toolbar
Located at the top of the editor. Contains tool selection buttons (Select, Wire, Resistor, Capacitor, etc.), undo/redo, zoom controls, grid toggles, theme switcher, and the collaboration status indicator.
Canvas
The main editing area where you design your schematic. Supports pan, zoom, selection, and all drawing operations. Displays the document frame (A4 equivalent) as a visual boundary.
Activity Bar
A vertical icon bar on the left edge. Click icons to open or close panels like Project Explorer, Component Library, AI Copilot, Hierarchy, Git, and more.
Side Panels
Dockable panels that can be positioned on the left, right, top, or bottom. Includes Component Library, AI Copilot, Property Editor, Hierarchy view, and others.
Status Bar
At the bottom of the window. Shows the current zoom level, mouse coordinates, document dimensions, selection count, git status, and auto-routing status.
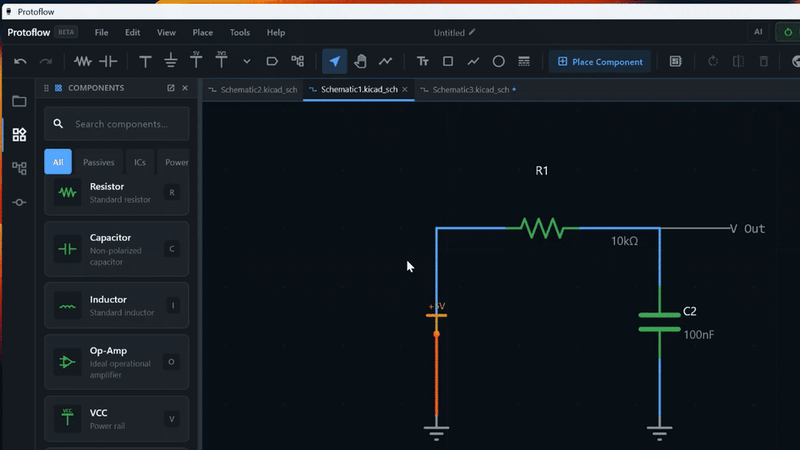
Tab Bar
Above the canvas. Shows all open schematics as tabs. Right-click tabs for options like close, rename, or duplicate.
Next Steps
- → Learn about the Schematic Editor in depth
- → Explore the Component Library
- → Try the AI Copilot to generate circuits automatically